Introduction
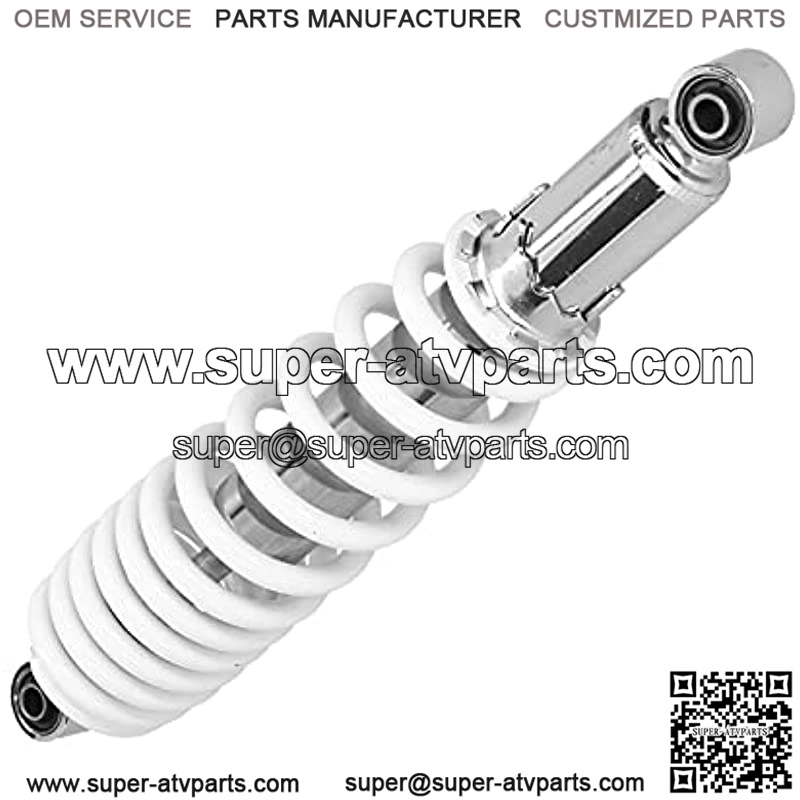
A high-performance Rear Suspension Damper (Shock Absorption Management Suspension Spring, 14.6in) is crucial for ensuring smooth rides, durability, and safety in ATVs and motorcycles. Whether you’re a retailer, repair chain, or off-road club, understanding proper installation and maintenance helps you maximize product value for your customers.
As a 20+ year expert in off-road parts manufacturing, we provide certified, heavy-duty suspension systems that meet CE, DOT, and E-mark standards. This guide covers installation steps, maintenance tips, and troubleshooting—helping your business offer better service and longer-lasting products.
1. Key Features of Our 14.6″ Rear Suspension Damper
-
Precision Engineering: Optimized for ATVs, motorcycles, and UTVs (fits most major brands).
-
Heavy-Duty Spring: Ensures load-bearing capacity and reduces vibration.
-
Adjustable Damping: Customizable stiffness for off-road, racing, or leisure use.
-
Corrosion-Resistant Coating: Extends lifespan in harsh environments.
2. Step-by-Step Installation Guide
Tools Required:
-
Socket wrench set
-
Jack stands
-
Lubricant (for bushings)
-
Torque wrench
Installation Steps:
-
Safety First: Lift the vehicle securely using jack stands.
-
Remove Old Damper: Unbolt the existing suspension unit (note the mounting positions).
-
Prepare New Damper: Check for damage; lubricate bushings if needed.
-
Mount the Damper: Align with the frame and axle mounts, then hand-tighten bolts.
-
Torque to Spec: Tighten bolts to the manufacturer’s recommended torque (prevents overloading).
-
Test & Adjust: Lower the vehicle, test compression, and adjust damping settings if applicable.
Pro Tip for Shops/Clubs: Keep a pre-installation checklist to avoid returns—verify compatibility and inspect for shipping damage before sale.
3. Maintenance Tips for Longevity
-
Monthly Inspection: Check for oil leaks, spring fatigue, or rust.
-
Clean Regularly: Use mild soap/water to remove mud/debris (avoid high-pressure sprays near seals).
-
Lubricate Bushings: Apply silicone grease every 3-6 months to reduce friction.
-
Storage Advice: For clubs/rentals, store ATVs with suspension unloaded to prevent spring sag.
4. Troubleshooting Common Issues
| Problem | Possible Cause | Solution |
|---|---|---|
| Excessive Bouncing | Worn-out damping oil | Replace or service damper |
| Squeaking Noise | Dry bushings | Lubricate with silicone spray |
| Uneven Suspension | Misaligned mounting | Reinstall and torque evenly |
5. Why Choose Our Suspension Dampers?
-
Factory-Direct Pricing: Save 20-30% vs. retail (ideal for bulk buyers like clubs/shops).
-
Certified Quality: CE/DOT-approved for legal compliance and safety.
-
Fast Global Shipping: Our logistics network ensures quick delivery to your store or warehouse.
Where to Buy?
-
Google Search: 14.6″ ATV Rear Suspension Damper
-
Amazon: Shock Absorption Spring for ATV


